Manufacturers use vacuum forming to heat and press a sheet of plastic over a form, creating a part. This method produces many household products, including plastic containers, tubs, sink units, and electrical enclosures.
While we used an industrial vacuum forming machine to achieve our application, you can also build one at home to achieve the same effect.
This process took us about 1.30 hour from start to finish.
SUPPLIES
Heat resistant gloves, Eye protection, Cutting tool, Sheets of vacuum forming plastic, Vacuum forming machine, 3d printed mold, Mold mounting fixture
STEP 1. ATTAIN YOUR MOLD
In order to vacuum form you will need a mold to vacuum form around. Your final parts will be nearly exact replicas of your mold. When designing a mold for vacuum forming consider drafting angles. Drafting angles enable manufacturers to remove the molded part from the mold. They should typically be anywhere from 3-5 degrees from 90 on any vertical surface.
STEP 2. GET READY YOUR MODEL
Print your model with 4 shells at 25% infill. Increase shells and infill settings to create a strong mold that will withstand the pressures of vacuum forming.
STEP 3. GET READY MOUNTING FIXTURE
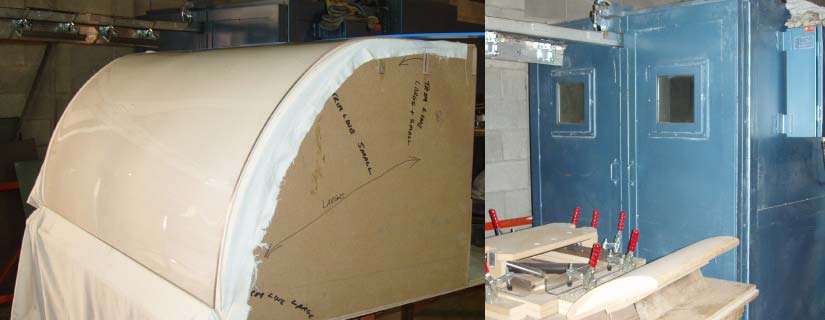
An industrial vacuum forming machine we needed to secure the mold to an additional fixture. This holds the mold in place against the various forces that occur when operating the machine.

STEP 4. FILL UP AND HEAT PLASTIC
( i ) Load your plastic.
When choosing plastic sheets for vacuum forming, consider the thickness of the plastic and the size of the sheet as well. You must heat thicker sheets to higher temperatures and use a higher-power vacuum.
( ii ) Heat plastic to desired temperature.
An industrial vacuum forming machine, heated the plastic automatically to temperature based on the type of plastic, thickness, and density.
Choose thinner sheets of plastic if your vacuum forming machine does not create large amounts of consistent heat or suction. Typically, you heat plastics to around 400 degrees Fahrenheit.
STEP 5. PUSH DOWN PLASTIC OVER FORM
Once plastic is heated, it is pushed over the form.
At this stage, the vacuum suction pulls all the air out from under the heated plastic sheet, forcing it down over the mold.
The plastic begins cooling instantly.
STEP 6. LET PLASTIC COOL
Once all of the air has been removed from under the plastic and it has been formed over your mold, remove the formed part and set it aside to cool.
The mold is not removed from the machine between shots.
STEP 7. DO IT AGAIN
This process can be repeated to produce as many as you desired
If you notice that over time your 3D printed mold becomes deformed due to heat or pressure, it might be time to print another.
Because printing is such an inexpensive option for mold production, producing 2-3 spares up front is not cost or time prohibitive.

STEP 8. AFTER PROCESS
After you have produced the desired number of parts, cut away any spare plastic.
You can cut away spare plastic using a manual cutting tool, or with a CNC. If you’re using a CNC, 3D printing is a good solution for creating custom fixtures.
STEP 9. FINISHING
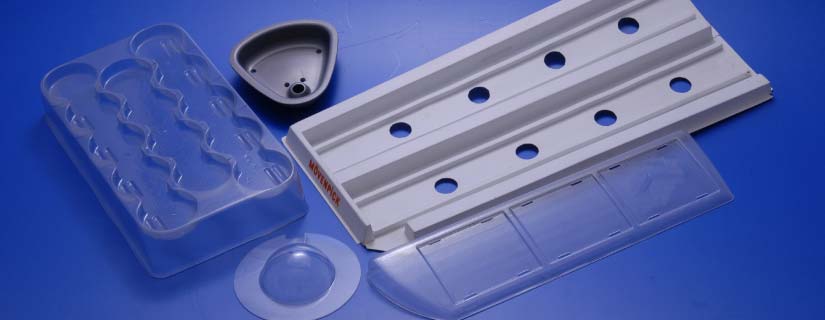
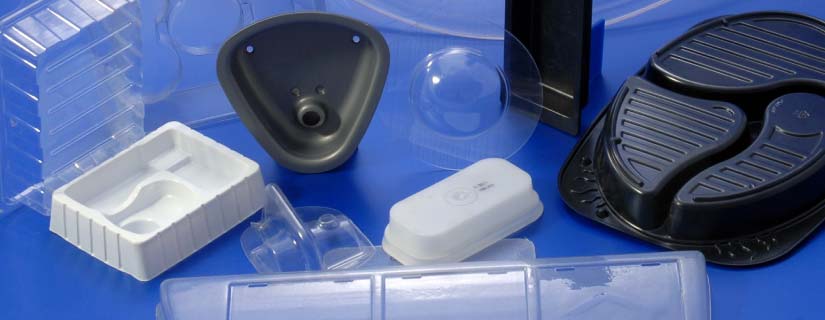
Here, you can see what successfully vacuum formed plastic sheets look like.

