Vacuum Forming plastic process with 3D Molds

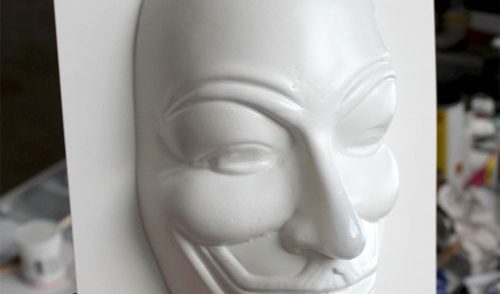
Manufacturers use vacuum forming to heat and press a sheet of plastic over a form, creating a part. This method produces many household products, including plastic containers, tubs, sink units, and electrical enclosures. While we used an industrial vacuum forming machine to achieve our application, you can also build one at home to achieve the same effect. This process took us about 1.30 hour from start to finish. SUPPLIES Heat resistant gloves, Eye protection, Cutting tool, Sheets of vacuum forming plastic, Vacuum forming machine, 3d printed mold, Mold mounting fixture STEP 1. ATTAIN YOUR MOLD In order to vacuum form you will need a mold to vacuum form around. Your final parts will be nearly exact replicas of your mold. When designing a mold for vacuum forming consider drafting angles. Drafting angles enable manufacturers to remove the molded part from the mold. They should typically be anywhere from 3-5 degrees from 90 on any vertical surface. STEP 2. GET READY YOUR MODEL Print your model with 4 shells at 25% infill. Increase shells and infill settings to create a strong mold that will withstand the pressures of vacuum forming. STEP 3. GET READY MOUNTING FIXTURE An industrial vacuum forming machine we needed to secure the mold to an additional fixture. This holds the mold in place against the various forces that occur when operating the machine. STEP 4. FILL UP AND HEAT PLASTIC ( i ) Load your plastic. When choosing plastic sheets for vacuum forming, consider the thickness of the plastic and the size of the sheet as well. You must heat thicker sheets to higher temperatures and use a higher-power vacuum. ( ii ) Heat plastic to desired temperature. An industrial vacuum forming machine, heated the plastic automatically to temperature based on the type of plastic, thickness, and density. Choose thinner sheets of plastic if your vacuum forming machine does not create large amounts of consistent heat or suction. Typically, you heat plastics to around 400 degrees Fahrenheit. STEP 5. PUSH DOWN PLASTIC OVER FORM Once plastic is heated, it is pushed over the form. At this stage, the vacuum suction pulls all the air out from under the heated plastic sheet, forcing it down over the mold. The plastic begins cooling instantly. STEP 6. LET PLASTIC COOL Once all of the air has been removed from under the plastic and it has been formed over your mold, remove the formed part and set it aside to cool. The mold is not removed from the machine between shots. STEP 7. DO IT AGAIN This process can be repeated to produce as many as you desired If you notice that over time your 3D printed mold becomes deformed due to heat or pressure, it might be time to print another. Because printing is such an inexpensive option for mold production, producing 2-3 spares up front is not cost or time prohibitive. STEP 8. AFTER PROCESS After you have produced the desired number of parts, cut away any spare plastic. You can cut away spare plastic using a manual cutting tool, or with a CNC. If you’re using a CNC, 3D printing is a good solution for creating custom fixtures. STEP 9. FINISHING Here, you can see what successfully vacuum formed plastic sheets look like.
Cut to size plastic and acrylic fabrication

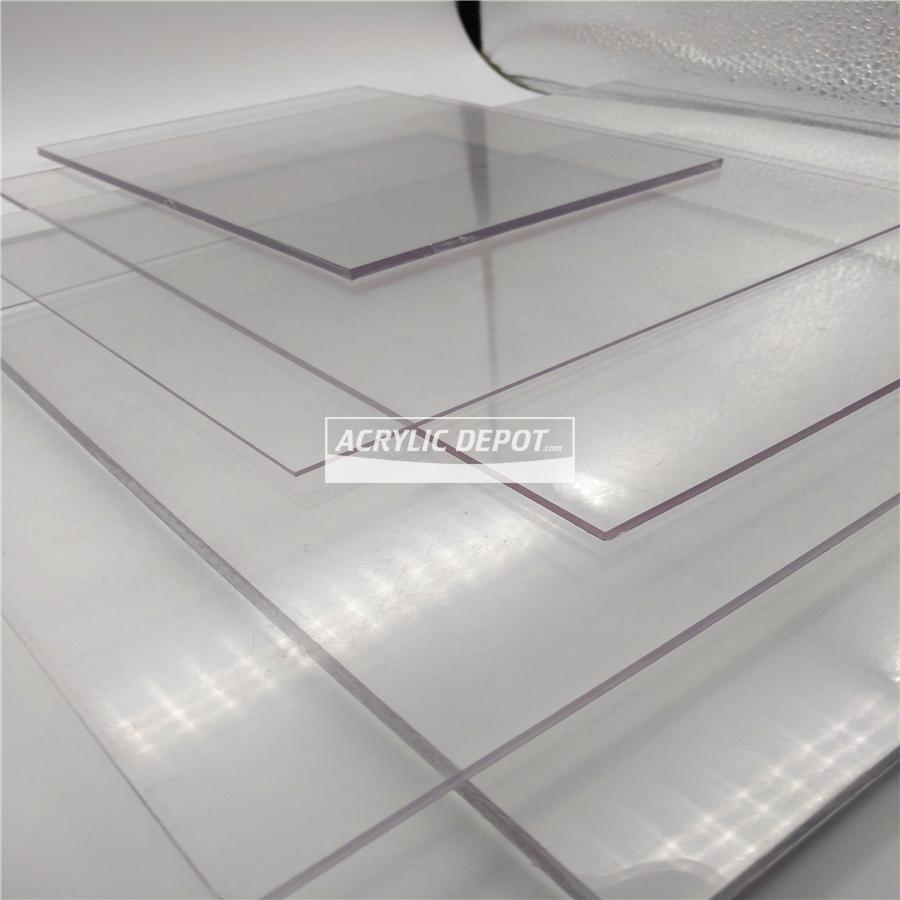
Uses for Plastic Sheeting Acrylic is incredibly versatile and has a wide range of uses. Many household projects and home improvements benefit from colored or clear plastic sheets. For example, homeowners often use high-impact, shatterproof acrylic as a cost-effective and safer alternative to glass for shed or greenhouse windows. Other popular uses include kitchen splashbacks, countertops, table protectors, and picture framing. Larger projects, such as shower tanking and wet-room installations, have also become increasingly common. These durable and stylish sheets can be cut to any size and come in virtually any color, making them both practical and fashionable. Colors and Other Options In addition to clear acrylic (equivalent to Acrylite®), we offer a wide range of colored plastics, including silver and gold mirror finishes. Our plastic sheets (acrylic and polycarbonate) are available in both transparent and opaque varieties. Simply provide the dimensions, color, thickness, and transparency preferences for your custom acrylic sheet order. Cut to Size After receiving your order, we cut and finish the edges of your bespoke plastic sheet to meet your exact requirements. We then wrap and protect your sheets to ensure they arrive at your door in pristine condition. Acrylic sheeting offers several advantages over other materials. It is lightweight, easy to clean and maintain, and can be molded into almost any shape. These qualities make acrylic sheets a perfect choice for various creative and functional projects. From Simple Shapes to Complex Designs We don’t just cut acrylic sheets to size; we also shape them into complex designs. Using state-of-the-art industrial plastic cutting machines, we deliver precise results based on your submitted design and special instructions. Whether you need simple shapes or intricate patterns, we can create exactly what you envision. Applications for Acrylic Sheets Cut-to-order acrylic sheets are ideal for countless applications at home, in offices, schools, and businesses. They are commonly used to replace display cabinet glazing, interior glass panels, walls, windows, and cupboard doors. Acrylic mirror-finished sheets are especially popular in gyms and home fitness studios as they provide a lightweight, cost-effective alternative to traditional glass mirrors. Outdoors, plastic sheets are frequently used for garden mirrors or as replacements for shed and greenhouse windows. While not unbreakable, acrylic sheets offer significantly higher impact resistance than glass and do not shatter into dangerous shards, making them a safer option. If safety is a concern, acrylic is the ideal choice. Plastic sheet is also incredibly easy to clean, maintain and cheap to replace if it becomes damaged. And being able to buy online with delivery anywhere in the Canada makes it an easy and convenient material to use in all sorts of applications, no matter how large or small. A.L.Plastics | Marion Collection | Acrylic Depot
Machined Plastic Parts

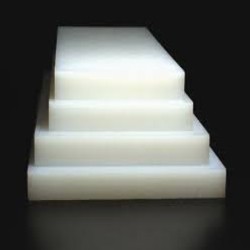
About UHMW and HDPE UHMW(Ultra High Molecular Weight) polyethylene plastic is known for its exceptional impact strength, making it one of the most durable thermoplastics available. It also offers outstanding abrasion resistance and tensile strength. Among all polyethylene materials, UHMW stands out with the highest impact strength. It outperforms carbon steel by a ratio of 10 to 1 in some applications. Additionally, it resists stress and cracking while boasting a low coefficient of friction, making it self-lubricating. These properties make it ideal for sliding applications, rough surfaces, or any scenario where reducing friction is essential. HDPE (High Density Polyethylene), while slightly lower in tensile strength compared to UHMW, offers excellent chemical resistance and minimal moisture absorption. This material is widely used in industries that demand impact resistance, high tensile strength, and resistance to chemicals and corrosion. In machining applications, it achieves a finer finish than UHMW, though both materials are easy to machine. Today, various grades of UHMW and HDPE are available to meet specific application needs. For example, anti-static grades of UHMW (AS/UHMW) are used to produce parts that prevent the build-up of electrical charges, making them ideal for sensitive environments. A.L.Plastics | Marion Collection | Acrylic Depot
